
14.05.2024
Graciella Limpah / 0364517
Packaging & Merchandising Design / Bachelor of Design (Honours) in
Creative Media / Taylors University
Project 1
INSTRUCTIONS
Exercise - Packaging Product Analysis
Practice in Class
For in class practice, we have to make a packaging for a massage ball. I find
inspiration from pinterest and then I found the packaging I like and I try to
draw the guideline and cut it. Here is the result :

|
|
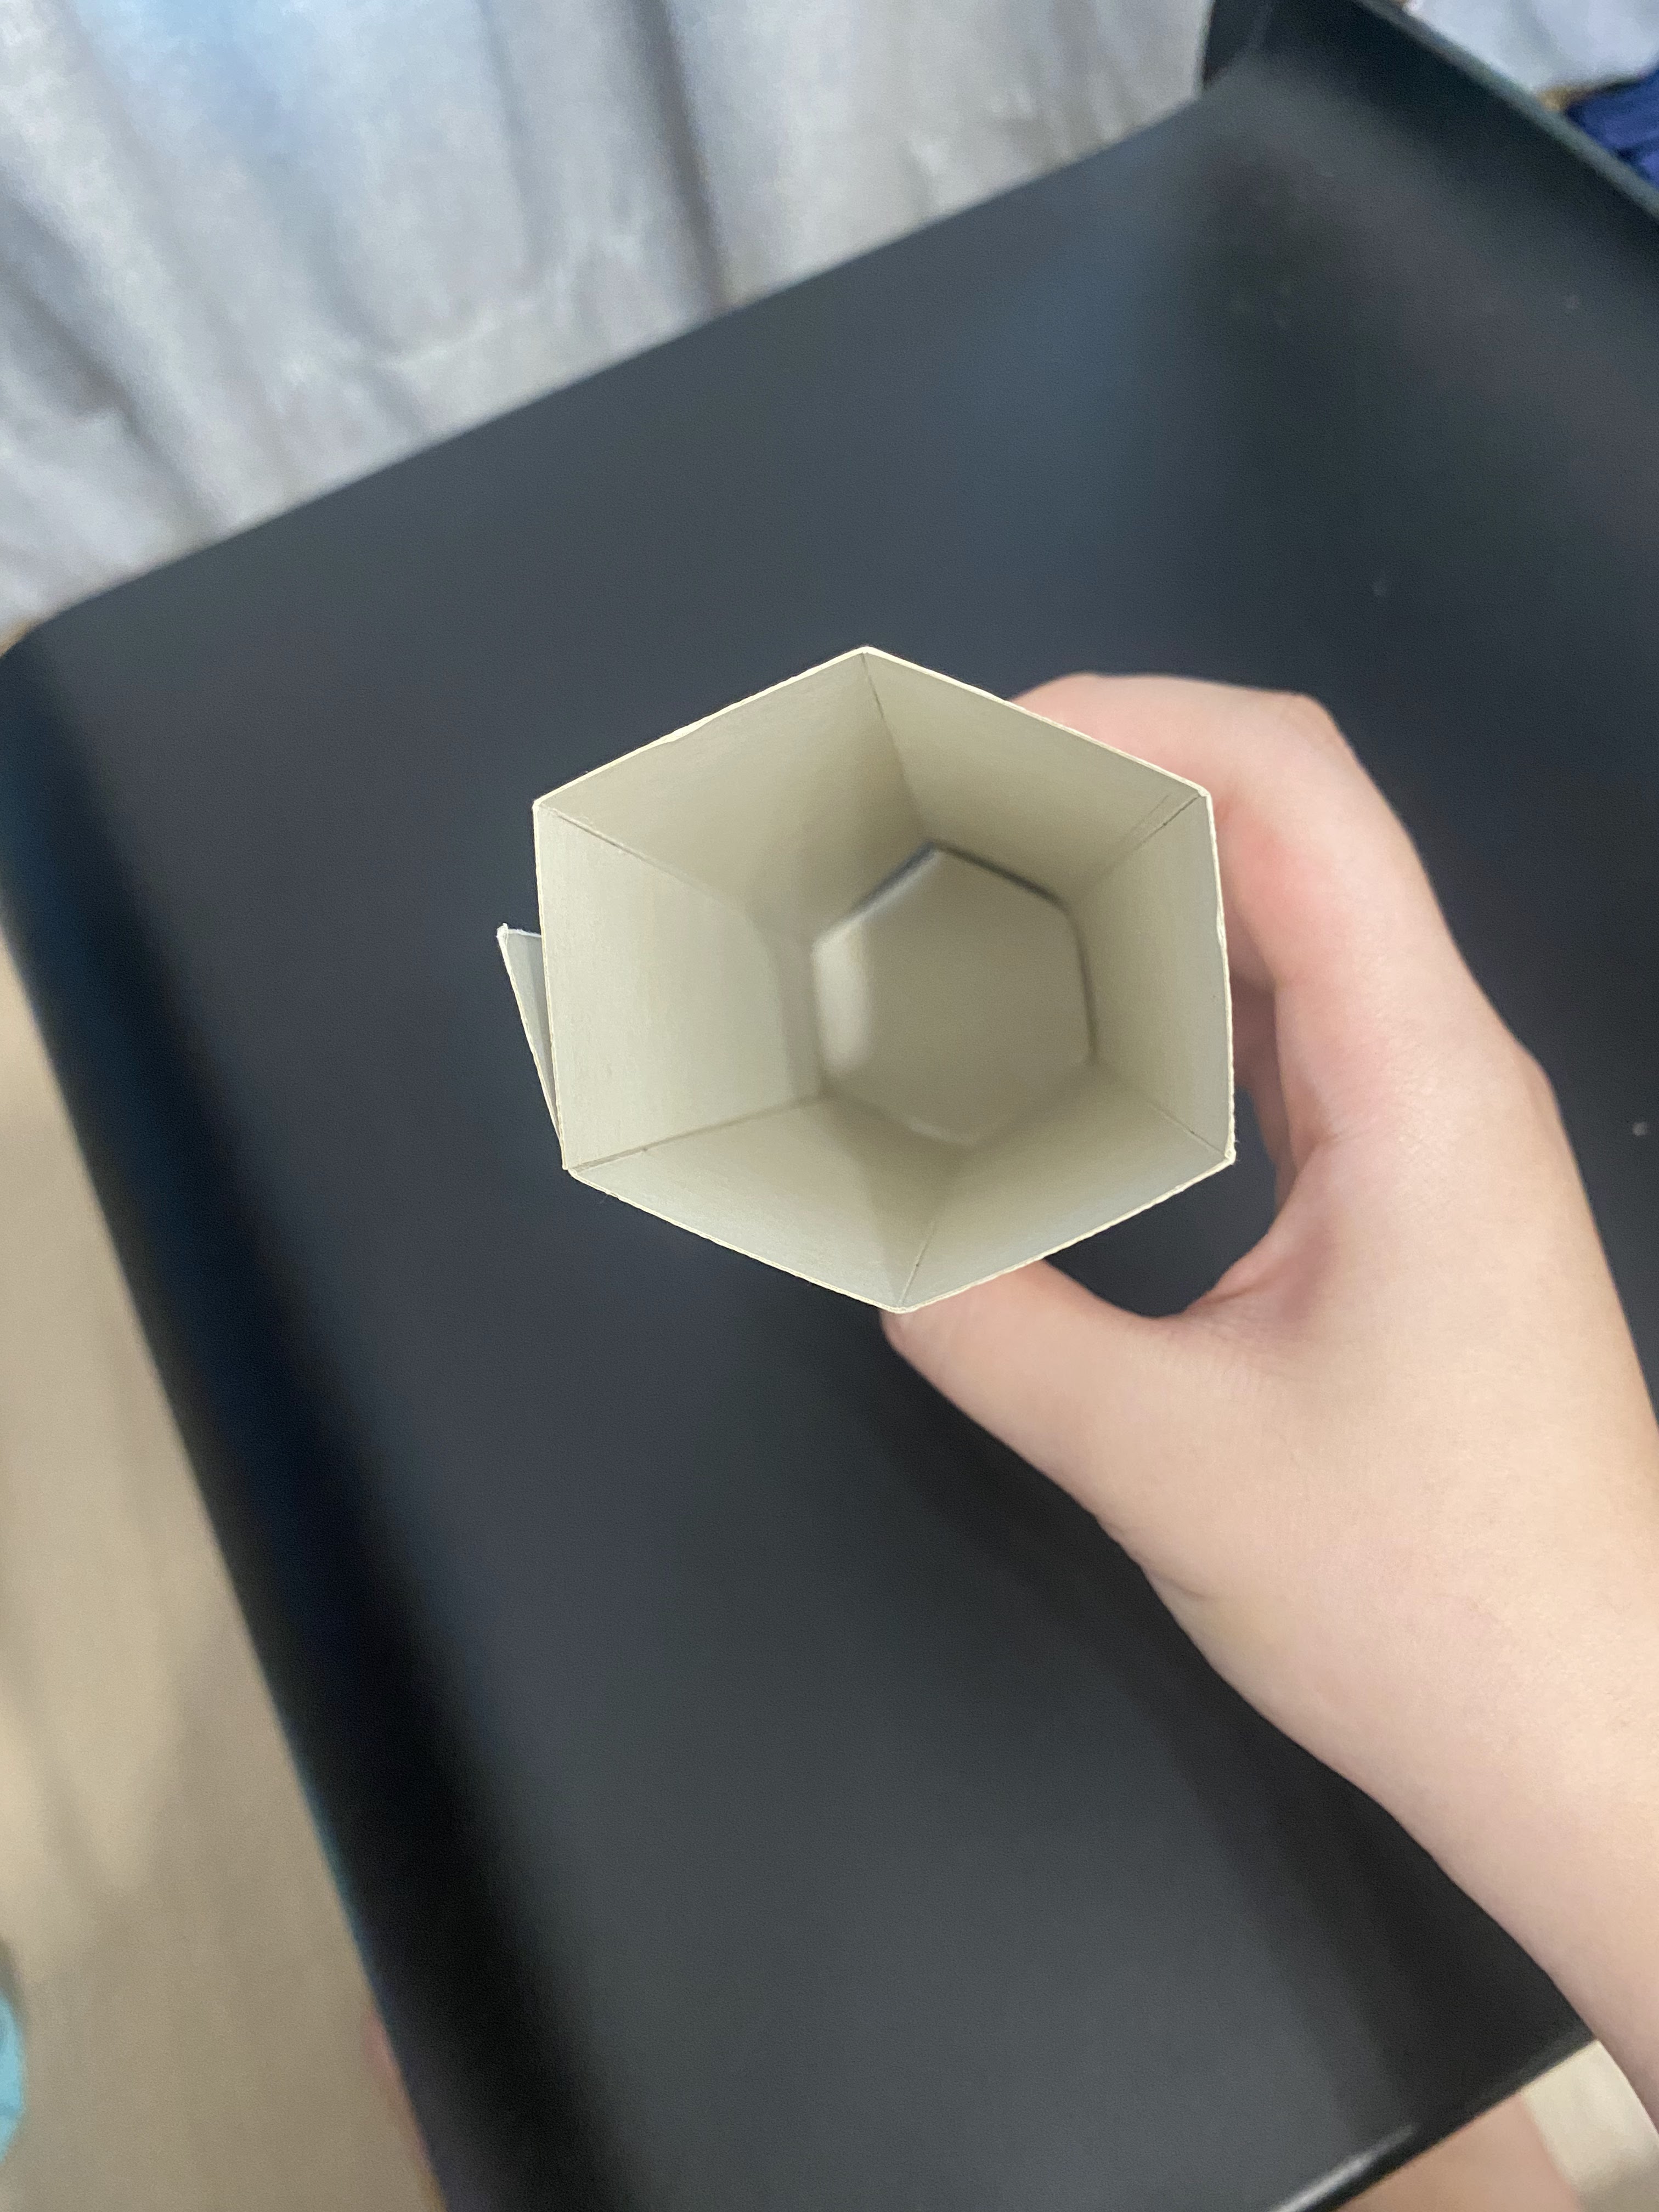
fig 1.1 Box for massage ball
|

|
|
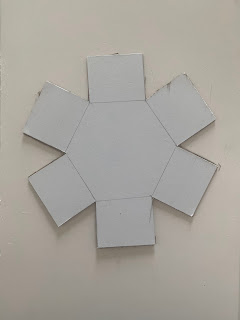
fig 1.2 Dieline for massage ball
|
Next, in week 4, we have to bring 2 non-box products to make a box for the
products. I choose a shirt clip and a brush. Here is the products :

|
|
fig 1.3 Clip
|

|
|
fig 1.4 Brush
|
1. Clip (fig 1.3):The clip set is currently packaged in a
plastic bag, which offers minimal protection and is not reusable. Clips are
small, lightweight items that are often misplaced or scattered when not stored
properly. Designing a custom reusable box for the clips would significantly
enhance their functionality by providing organized storage even after purchase.
The custom box can have compartments or sections, allowing users to conveniently
keep their clips sorted and easily accessible. This not only improves
presentation on the shelf but also adds long-term value for the consumer.
2. Brush Set (fig 1.4):The brush set is packaged in a blister card, which is not ideal for
long-term storage and lacks protection once opened. These brushes are tools that
require careful handling to maintain their shape and cleanliness. A custom
reusable box will allow users to store the brushes safely after use, preventing
damage to the bristles and keeping the brushes clean and dust-free. The new
packaging would offer a more premium feel, improve user convenience, and extend
the lifespan of the product, making it more appealing to customers.
Then, I try to sketch out how the box will look like.

|
|
fig 1.5 Sketches
|
Next, I try to make prototype for each box. Here is the prototype process
:
Clip Box :

|
|
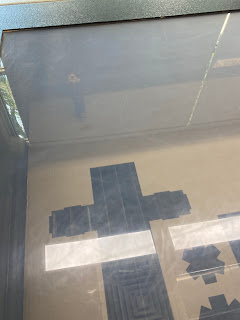
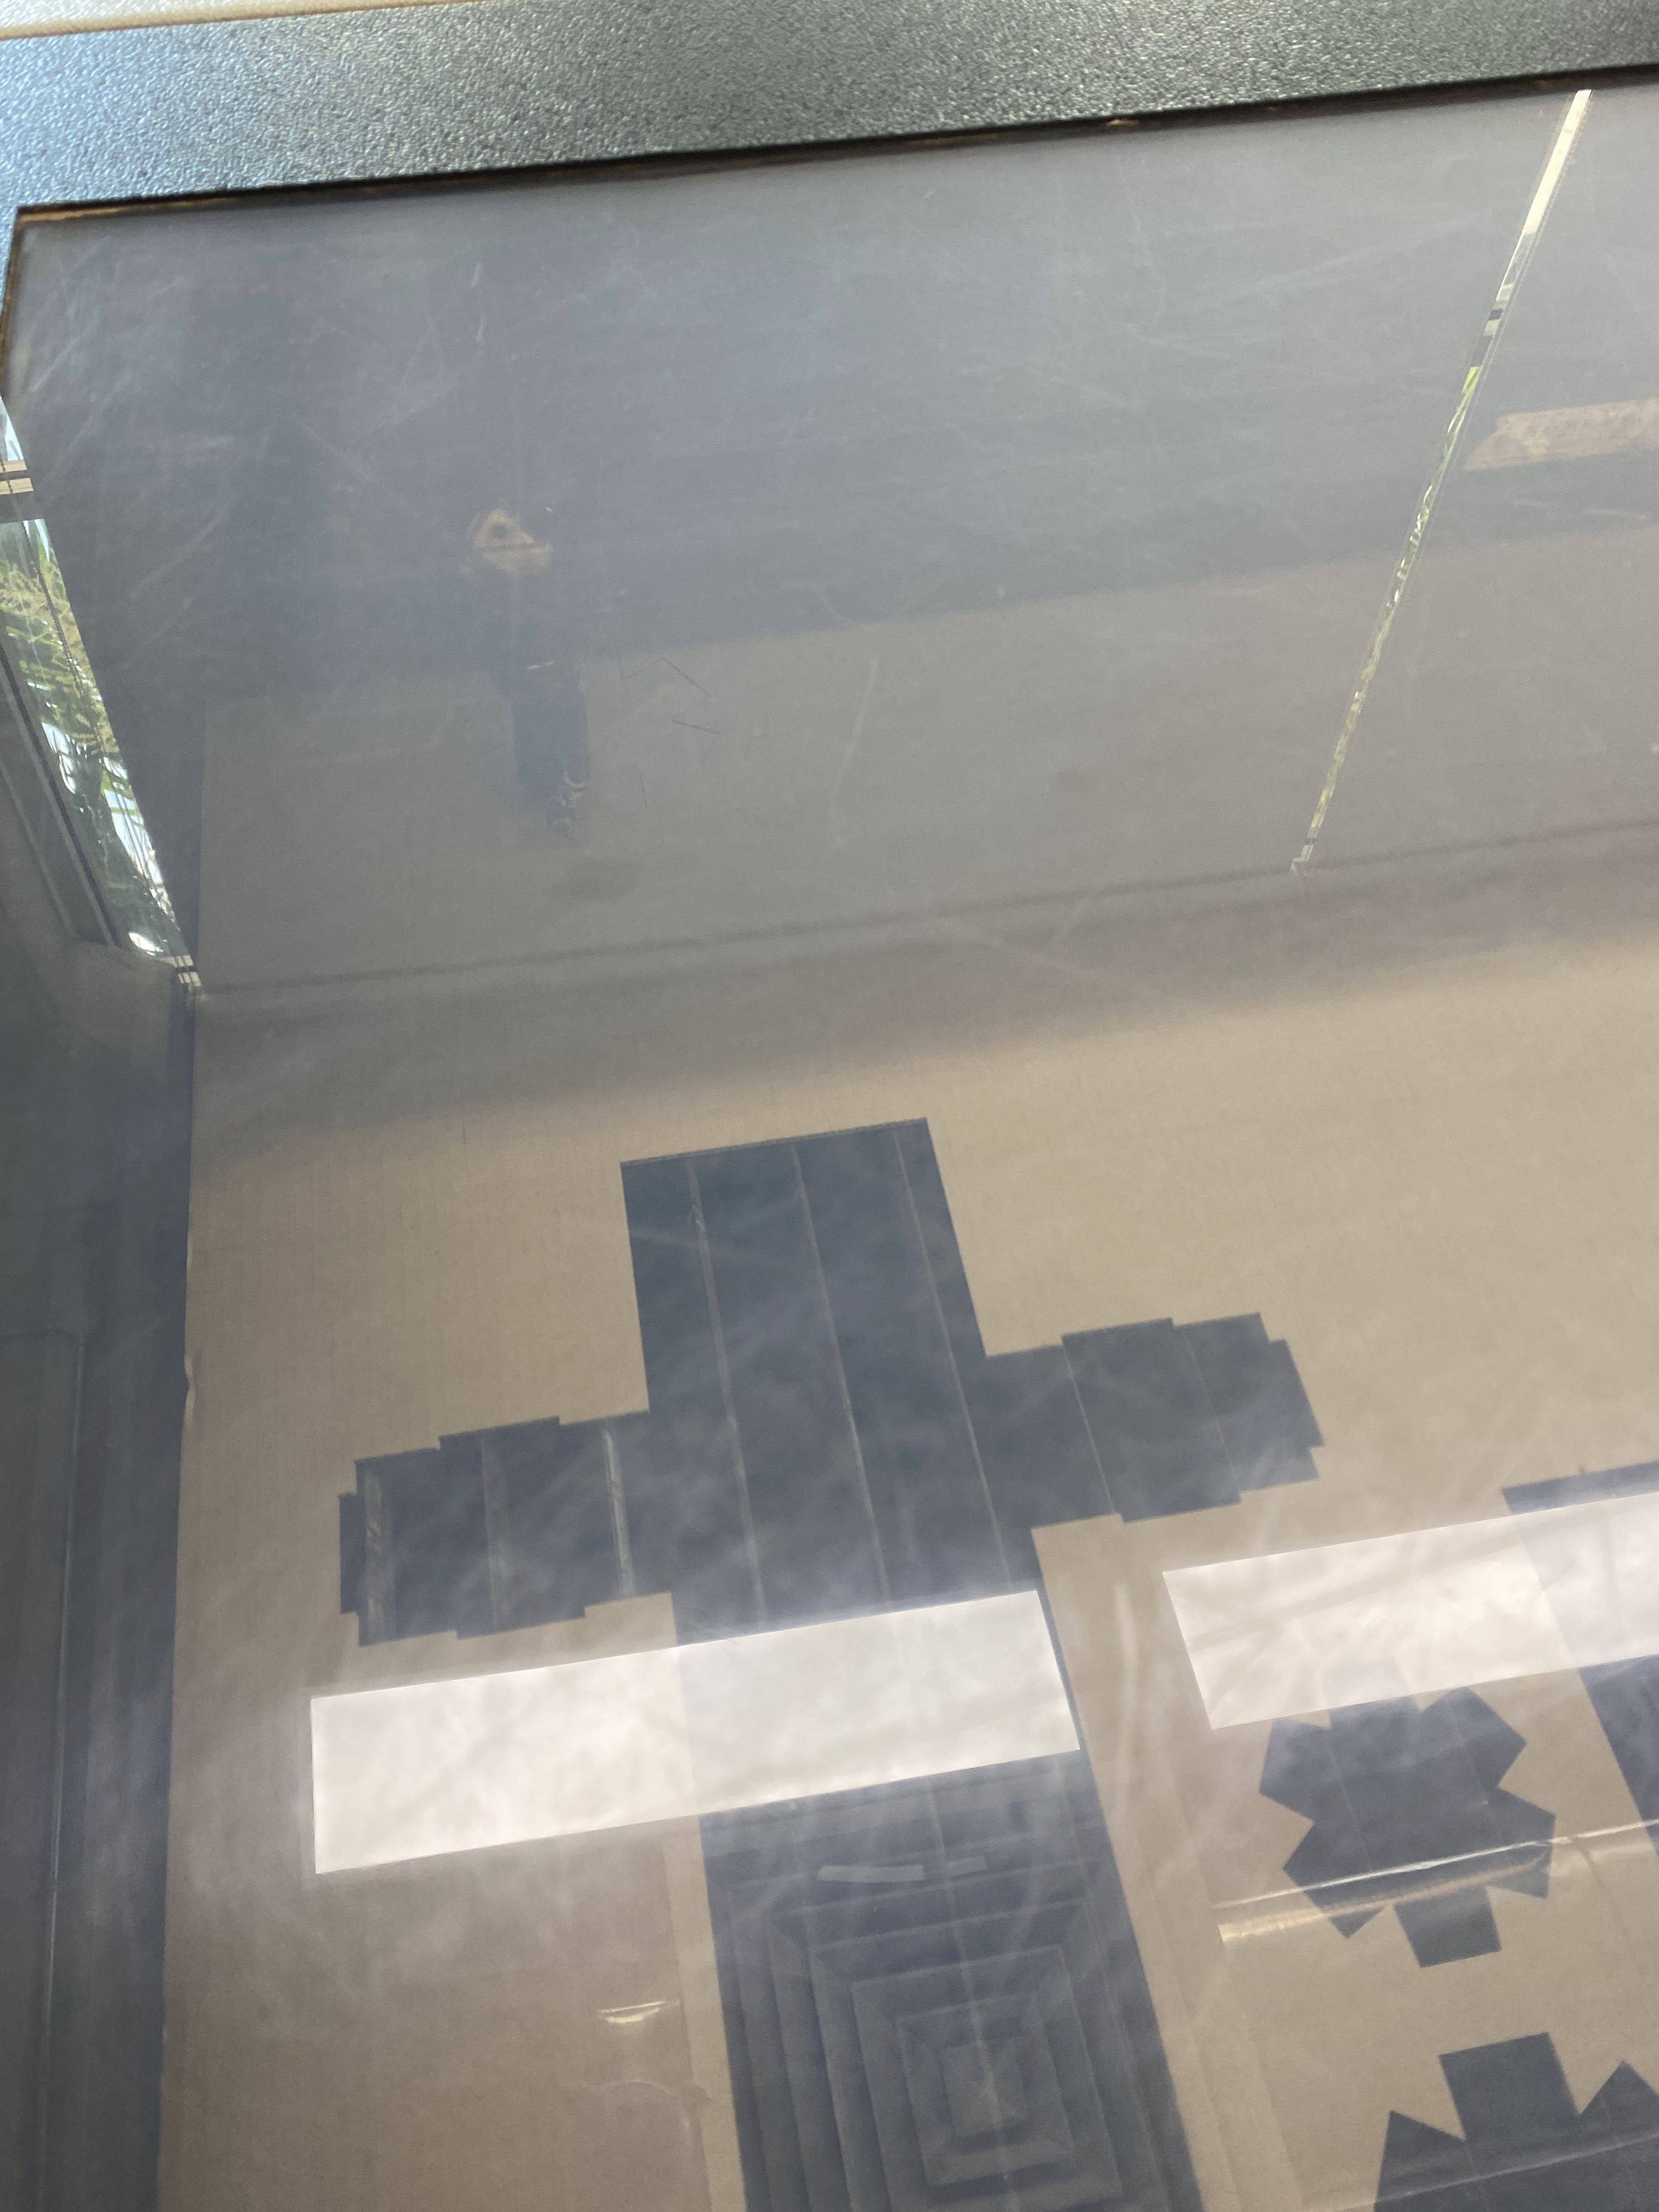
fig 2.1 Dieline cut for clip box
|
Brush :

|
|
fig 2.2 Dieline for cap of the brush box
|
|
|
fig 2.2 Dieline cut for cap of the brush box
|

|
|
fig 2.3 Dieline for box of the brush box
|

|
|
fig 2.4 Dieline cut for box of the brush box
|
Then, here is the result (not the best, but at least I know how will it work)
:
Clip Box

|
|
fig 3.1 Prototype of clip box
|

|
|
fig 3.2 Prototype of clip box
|

|
|
fig 3.3 Prototype of clip box
|
Brush :

|
|
fig 3.4 Prototype of brush cap box
|

|
fig 3.4 Prototype of brush box
|
|
Digitalization
After doing the prototype for each of the item, I move to illustrator to make
the digitize version for the dieline.
Process :
fig 4.1 Process of Digitalization (left is clip, right is brush)
When doing consultation with Mr.Sham, he also showed me how to make the
dieline better.

|
|
fig 4.2 Consultation with Mr.Sham
|
Final Digitalization :
After consulting with Mr.Sham, he asked me to improved some part from the
digitalize version. I try to improvised and here is the finished result
:
fig 4.2 (left is brush, right is clip)
CLIP BOX
FIRST TRIAL
Laser Cut Process :
After doing the digitalization, moving on to the laser cut process.
Here is the laser cut process:
.jpeg)
|
|
fig 4.3 Laser Cut Process
|

|
|
fig 4.4 Laser Cut Process
|
fig 4.5 Laser Cut Process
For clip box, I manage to do it accordingly to what my prototype looks
like.

|
|
fig 5.1 Clip Box
|

|
|
fig 5.3 Clip Box Result
|
SECOND TRIAL
After receiving feedback from Mr.Sham, I need to re-do my packaging because
it looks not neat and I cannot use the tape outside the box. So, I come back
to the laser cut place and try laser cut it again. I also change the dieline
so I have parts to stick it inside (to avoid using tape)
Dieline

|
|
fig 6.1 Dieline for both Clip and Brush
|
Laser Cut Process

|
|
fig 6.2 Laser Cut Process
|

|
|
fig 6.3 Laser Cut Process
|

|
|
fig 6.4 Laser Cut Process
|

|
|
fig 6.5 Laser Cut Process
|

|
|
fig 6.6 Laser Cut Process
|
Laser Cut Result (Failed Attempt)

|
|
fig 7.1 Failed Box
|

|
|
fig 7.2 Failed Box
|
Laser Cut Result (Final Attempt)

|
|
fig 7.3 Final Box
|

|
|
fig 7.4 Final Box
|

|
|
fig 7.5 Final Box
|

|
|
fig 7.6 Final Box
|
First Trial
I use a thinner paper for this first trial but it didn't turn out well, I'm
also thinking of how the box will open but I don't think it can because the
lower part cannot stand, it's too thin.

|
|
fig 8.1 First Trial box
|

|
|
fig 8.2 First Trial box
|
fig 8.3 First Trial box
Second Trial
Then, I change a little bit of how the inside will look like. I also
change the material into corrugated box so it can stand.

|
|
fig 9.1 Digitalization for brush box
|

|
|
fig 9.2 Brush box
|
|
|
fig 9.3 Brush box
|

|
|
fig 9.4 Dieline for brush box
|

|
|
fig 9.5 Brush box result
|

|
|
fig 9.6 Brush box result
|

|
|
fig 9.7 Brush box result
|

|
|
fig 9.8 Brush box result
|

|
|
fig 9.9 Brush box result
|
Third Trial
After receiving feedback from Mr.Sham, I redo my box to make it looks nicer.

|
|
fig 10.1 2 Failed Attempt
|
This are the failed attempt where the line are not scored properly. So
with the help of a hammer, then the line become better. Here is the final
Brush Box :

|
|
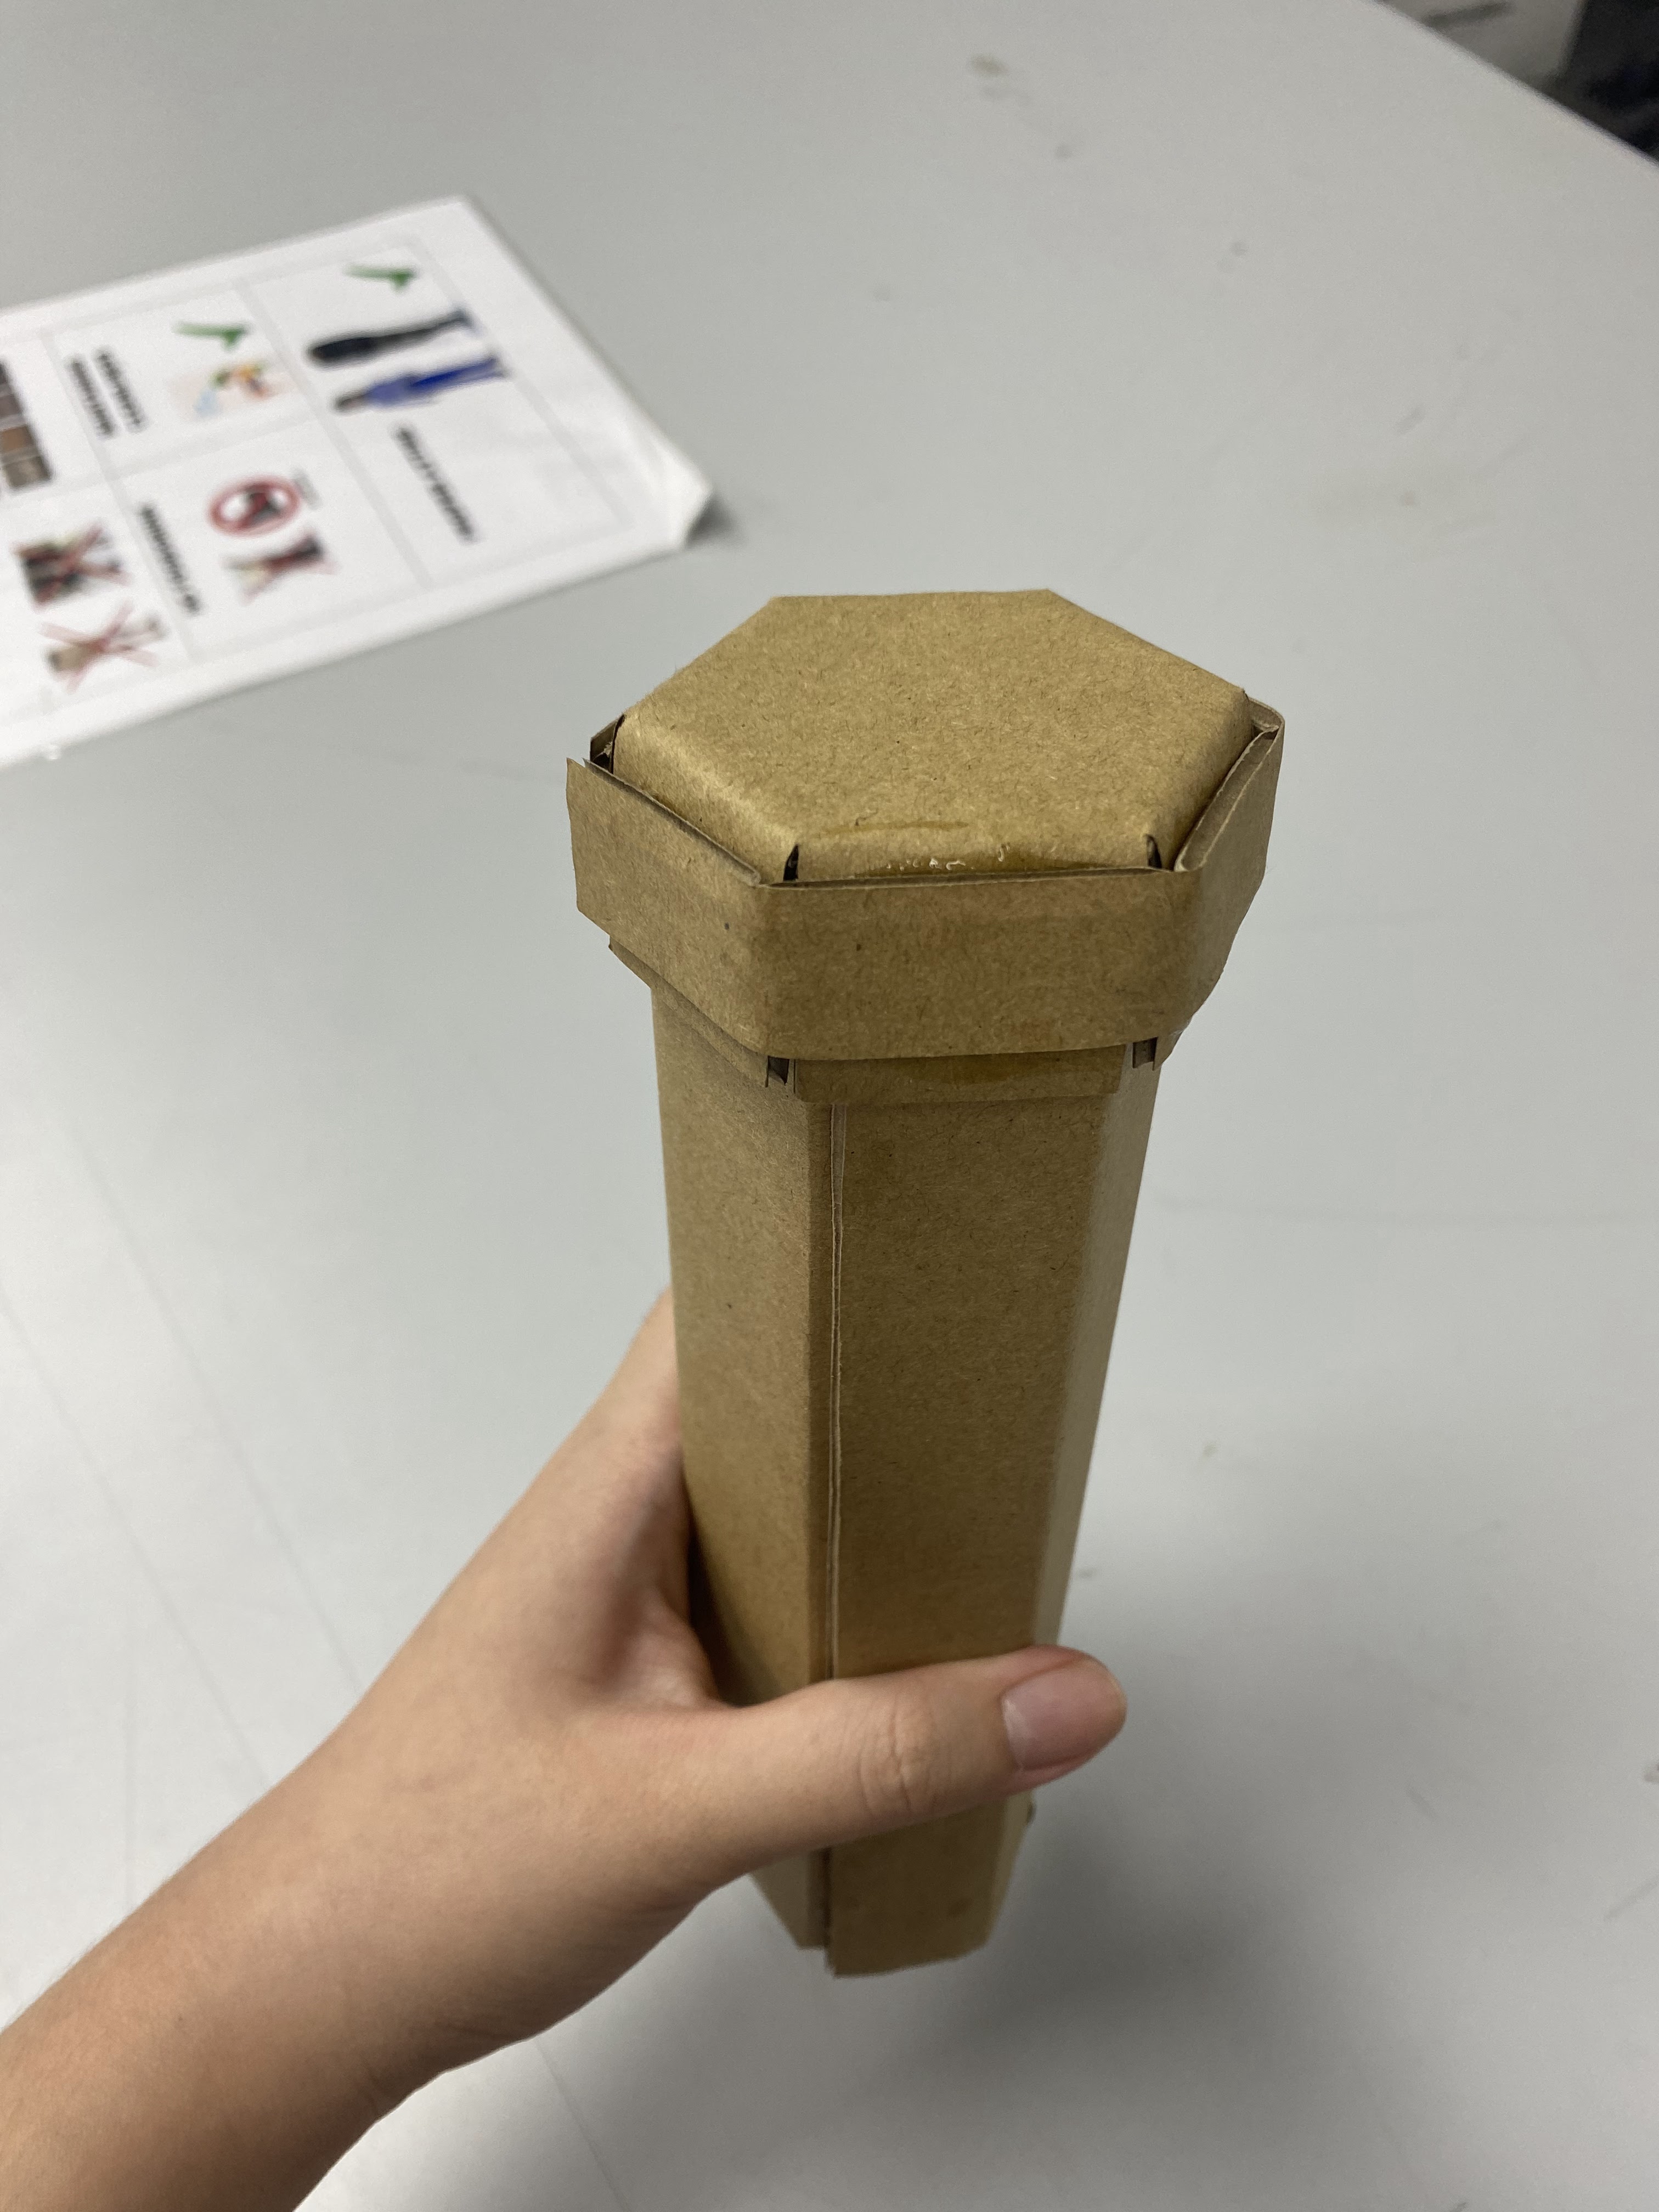
fig 10.2 Final Brush Box
|

|
|
fig 10.3 Final Brush Box
|

|
|
fig 10.4 Final Brush Box
|

|
|
fig 10.5 Final Brush Box
|

|
|
fig 10.6 Final Brush Box
|

|
|
fig 10.7 Final Brush Box
|
Paper Clip Box
Brush Box
FEEDBACK
Week 5: Proceed with the items chosen
Week 6: Need to change the material that are used from the
prototype, because it is not suitable. Need to be very precise when
doing digitalization.
REFLECTION
This task allowed me to explore a wide range of packaging designs,
starting from identifying non-boxed items to imagining how custom
packaging could enhance their form and function. It was an insightful
process that challenged me to think creatively and practically.
Although I found it difficult to make the lines and measurements
precise, I did my best to achieve accuracy and improve my skills.
Creating the prototype was especially enjoyable; it was exciting to
see my initial sketches transformed into a real, tangible box. This
hands-on experience helped me better understand the connection between
design and functionality in packaging.


.jpeg)


Comments
Post a Comment